Introduction
The engine oil dipstick is a simple yet crucial tool for monitoring the oil level in a vehicle's engine. It allows you to check if the oil level is within the recommended range, ensuring proper lubrication and preventing potential engine damage. However, sometimes reading the dipstick can be challenging, making it difficult to determine the accurate oil level. This issue can arise due to various reasons, such as the oil's viscosity, the dipstick's design, or the engine's operating conditions.
In this article, I'll delve into the common causes behind this frustrating issue, share troubleshooting steps, repair instructions, and preventive measures to ensure you never have to second-guess your engine's oil level again. Buckle up, and let's demystify this automotive conundrum together!

Common Causes of a Hard-to-Read Dipstick
Over the years, I've identified several reasons why the engine oil dipstick can become a source of confusion. Here are the main culprits:
| Cause | Description |
|---|
| Dirt, Varnish, and Debris Buildup | As the engine runs, tiny particles of dirt, varnish, and debris can cling to the dipstick, obscuring the oil level markings and making it challenging to discern the precise oil level. |
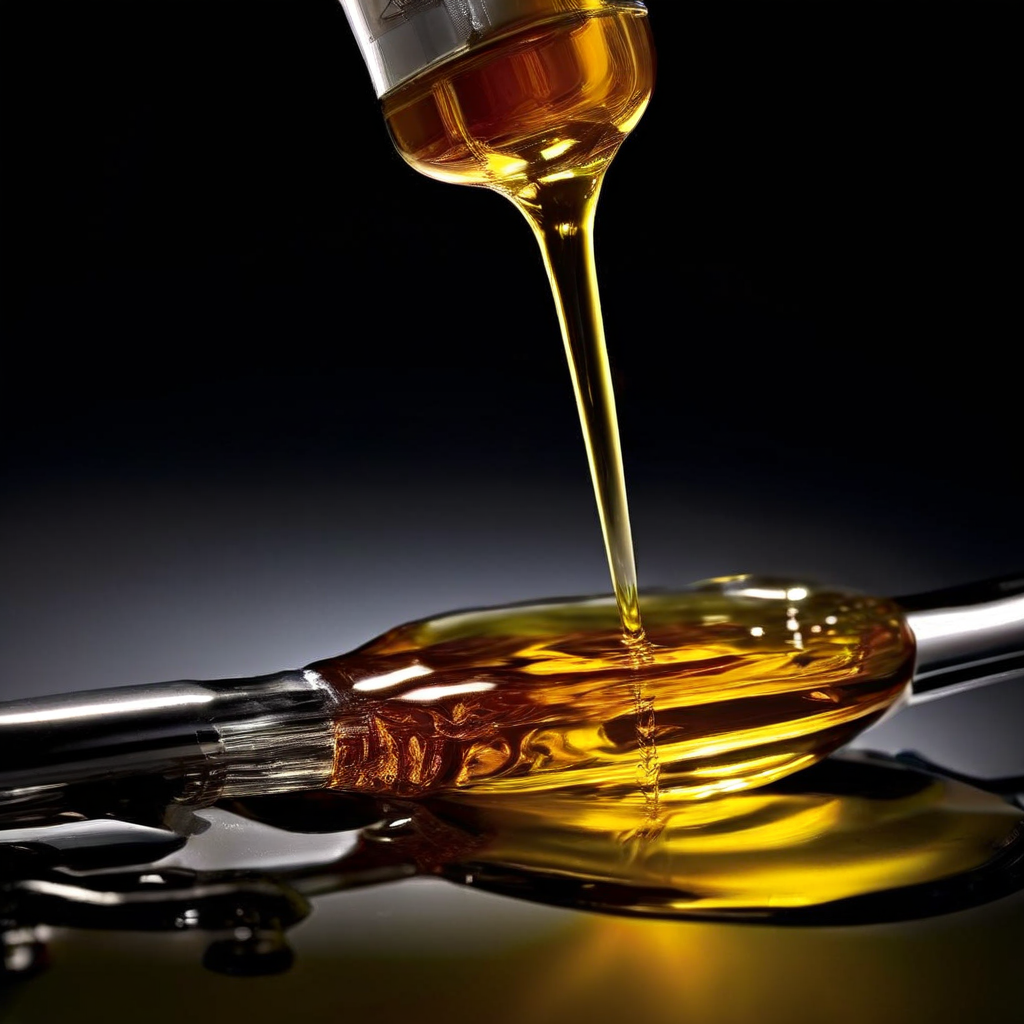
| Fresh, Clean Oil | Fresh, clean oil is incredibly thin and transparent, which means it may not leave a distinct line on the dipstick, making it difficult to determine the exact oil level, especially if you've just performed an oil change. |
| Improper Dipstick Insertion | If the dipstick isn't fully seated or properly inserted, it can give an inaccurate reading, leaving you scratching your head. |
| Oil Viscosity | Thinner oils, like 0W-20, tend to drip off the dipstick faster, leaving less of a line to interpret. |
| Dipstick Design | Some dipsticks have unclear markings, are too thin, or are the same color as the oil, making it challenging to distinguish the oil level accurately. |
Troubleshooting Steps
Now that we've identified the potential causes, let's dive into some troubleshooting steps you can take to get a clearer reading on your engine's oil level:
Park on a Level Surface: Before checking the dipstick, ensure your vehicle is parked on a level surface. This will allow the oil to settle evenly in the oil pan, giving you a more accurate reading. If your driveway or parking spot is not level, find a flat area or use a level surface like a parking lot or garage floor.
Let the Engine Cool: It's essential to let the engine cool completely for 10-15 minutes before checking the oil level. This will allow any excess oil to drain back into the oil pan, preventing an inaccurate overfilled reading. If you've just been driving, be patient and wait for the engine to cool down to avoid getting burned or getting an inaccurate reading.
Wipe and Reinsert the Dipstick: Pull out the dipstick, wipe it clean with a lint-free cloth or paper towel, and reinsert it fully. This will remove any residue or debris that may be obscuring the oil level markings. Make sure to push the dipstick all the way back in until it's seated properly.
Check for a Clear Oil Level Line: Remove the dipstick again and look for a clear oil level line. Pay attention to the crosshatched section or holes that indicate the proper range. The oil level should be between the two markings or holes.
Try These Tricks: If the oil level is still unclear, try the following tricks:
Lay the dipstick on a clean paper towel and slowly drag it to reveal the oil line. The oil should leave a distinct line on the paper towel.
Rough up the dipstick surface with fine-grit sandpaper to create a matte finish that holds the oil better. This will help the oil cling to the dipstick and leave a clearer line.
Make small cuts or grooves on the dipstick to catch the oil. The grooves will help trap the oil and make the level more visible.
Inspect the Oil's Color and Consistency: While you're at it, take a moment to check the oil's color and consistency. Clean oil should be amber or light brown. If the oil appears dark, thick, or milky, it may indicate contamination or the need for an oil change.
| Oil Condition | Description |
|---|
| Amber or Light Brown | Clean, fresh oil |
| Dark or Black | Contaminated or degraded oil, needs to be changed |
| Thick or Milky | Possible coolant or water contamination |
Repair Instructions
In some cases, troubleshooting may not be enough, and you'll need to take more drastic measures to address the hard-to-read dipstick issue. Here are some repair instructions to consider:
Replace the Dipstick: If the dipstick is damaged or too worn, the simplest solution is to replace it with a new one from the dealer or an auto parts store. Make sure to get the correct dipstick for your vehicle's make, model, and year.
Clean a Varnished or Dirty Dipstick:
Remove the dipstick and clean it thoroughly with a degreaser or solvent. This will help remove any built-up varnish or gunk.
Once clean, use fine-grit sandpaper or a file to rough up the surface for better oil adhesion. This will create a matte finish that helps the oil cling to the dipstick.
Adjust the Oil Level:
If the oil level is overfilled, use a syringe or narrow hose to extract the excess oil until it reaches the proper level.
Be careful not to overfill or underfill the oil, as both can cause engine damage.
Perform an Oil Change:
If the oil is contaminated or degraded, the best course of action is to perform an oil change following the manufacturer's instructions.
Use the correct oil type and viscosity for your vehicle, as specified in the owner's manual.
Preventive Measures
While addressing a hard-to-read dipstick is essential, it's even more crucial to take preventive measures to avoid this issue in the future. Here are some tips to keep in mind:

Regular Oil Level Checks: Check and top up the engine oil regularly, at least once a month or as specified in the owner's manual.
Follow Oil Change Intervals: Adhere to the recommended oil change intervals and use the correct oil type and viscosity for your vehicle.
Inspect and Replace the Dipstick: During oil changes, inspect the dipstick and replace it if it's damaged or worn.
Keep the Engine Area Clean: Maintain a clean engine area and keep it free of debris to prevent buildup on the dipstick.
Cost Estimates
Addressing a hard-to-read dipstick issue can be relatively inexpensive, especially when compared to the potential costs of engine damage from running with low oil levels. Here are some cost estimates to keep in mind:
| Service | Cost Range |
|---|
| Replacement Dipstick | $5 - $20 depending on the vehicle make and model |
| Oil Change (including labor) | $20 - $100 for most passenger vehicles, depending on the oil type and service provider |
| Engine Flush or Decarbonization Service | $100 - $200 (if needed for severe varnish buildup) |
Conclusion
A hard-to-read engine oil dipstick can be a frustrating and potentially costly issue if left unaddressed. By understanding the common causes, following the troubleshooting steps, and implementing preventive measures, you can ensure that checking your engine's oil level remains a straightforward task.
Remember, regular dipstick checks and timely oil changes are crucial for maintaining engine health and preventing expensive repairs down the line. So, the next time you find yourself squinting at that elusive oil level line, take a deep breath, follow the steps outlined in this article, and rest assured that you're taking the necessary steps to keep your vehicle running smoothly.
Happy motoring, and may your dipstick always be easy to read!
FAQs
What if the dipstick is missing or broken?
You will need to replace the dipstick with a new one that is compatible with your vehicle's make, model, and year. Consult your owner's manual or an auto parts store for the correct replacement.
Can I use any type of sandpaper to rough up the dipstick surface?
No, it's recommended to use fine-grit sandpaper (around 400-600 grit) to create a matte finish without damaging the dipstick.
How often should I check the engine oil level?
It's advisable to check the engine oil level at least once a month or as specified in your vehicle's owner's manual.
What happens if I overfill or underfill the engine oil?
Both overfilling and underfilling the engine oil can lead to potential engine damage. It's crucial to maintain the proper oil level as indicated by the dipstick markings.
Can I use any type of degreaser or solvent to clean a varnished dipstick?
It's best to use a degreaser or solvent specifically designed for automotive use to avoid damaging the dipstick or other engine components.
How do I know if the oil needs to be changed?
If the oil appears dark, thick, or milky, it's a sign that it needs to be changed. Refer to your owner's manual for the recommended oil change intervals.
Can I use a different oil viscosity than what's recommended?
It's not advisable to use an oil viscosity that's different from the manufacturer's recommendations, as it can affect engine performance and longevity.
What should I do if the dipstick is the same color as the oil?
In this case, you may need to use a different method to check the oil level, such as laying the dipstick on a clean paper towel or making small grooves on the dipstick to catch the oil.
Can I check the oil level while the engine is running?
No, it's important to check the oil level when the engine is cool and has been off for at least 10-15 minutes. Checking the oil level while the engine is running can lead to an inaccurate reading.
What are the potential consequences of driving with low engine oil?
Driving with low engine oil can lead to increased friction, overheating, and potentially catastrophic engine damage, resulting in costly repairs or even engine replacement.